How to Setup Gmail on iPhone Mail with IMAP and POP Protocols
- Use IMAP, by going to Gmail Settings > Passwords & Accounts > Add Account > Google.
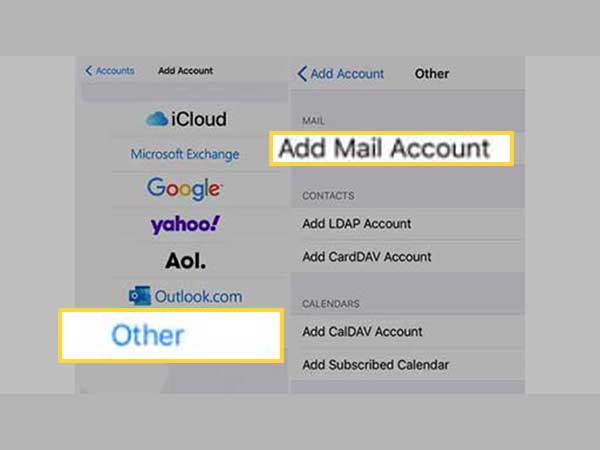
- For using POP settings, go to Gmail Settings > Passwords & Accounts > Add Account > Other > Add Mail Account.
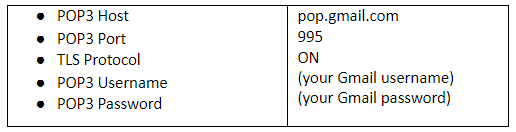
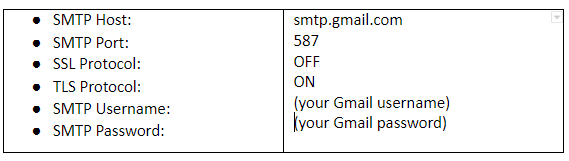
- The Gmail POP server settings for incoming and outgoing servers are pop.gmail.com and smtp.gmail.com.
Who hasn’t heard of Gmail? But those who are still unfamiliar with Gmail; it is an email service developed by Google to provide free emailing to users across the globe. Gmail can be synced with other third-party email clients, Android devices, iOS devices using the POP and IMAP protocols.
In this article, we will shed light on the processes that are available to add Gmail on the iPhone mail app through your phone settings. We well cover set up for Gmail, G Suite account on iOS 11 and higher.
Also, Read: Add and Setup Yahoo on MS Outlook 2019, 2016, 2013, 2010, 2007 and 2003
Gmail IMAP, POP, and SMTP Settings
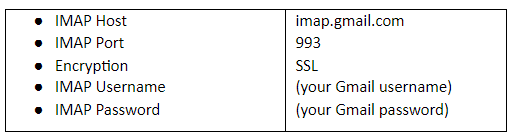
Gmail IMAP Settings
Gmail POP3 Settings
Gmail SMTP Settings
Configure Gmail in iPhone Mail using IMAP settings
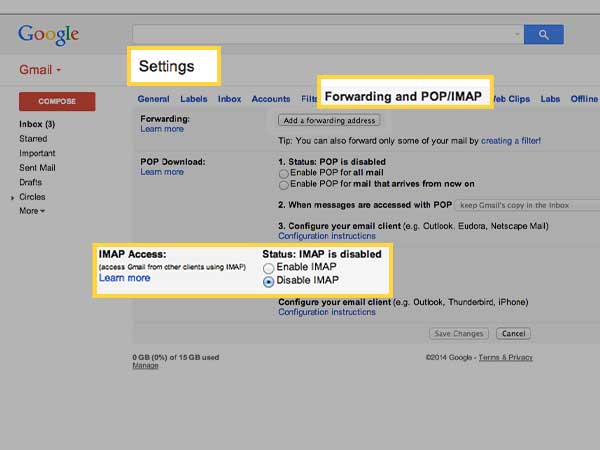
Step 1: Start by enabling IMAP settings on your Gmail account. For this, go to Settings>> Forwarding and POP/IMAP>> IMAP access>> Enable IMAP.
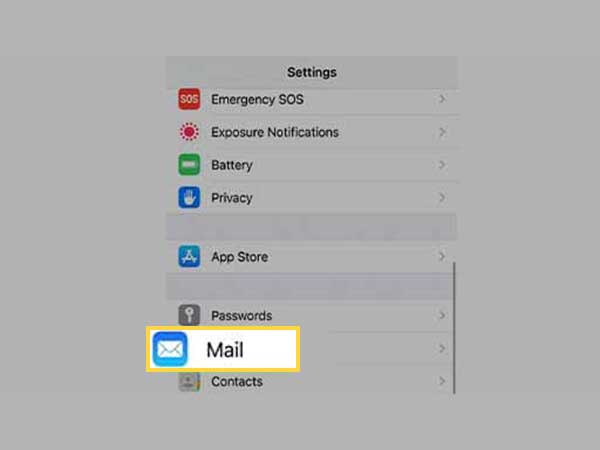
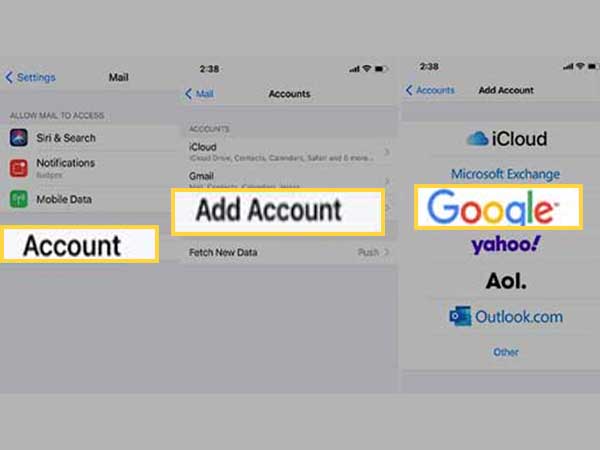
Step 2: From the home screen of your iPhone open Settings menu.
Step 3: Now, go to Password & Account>> Add Account>> Google.
Important Note: If you using older version of iPhone, you need to select Mail > Contacts > Calendars>>Add Account > Google Mail.
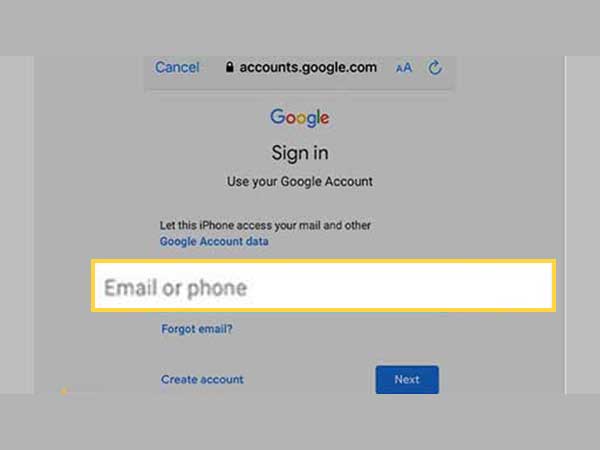
Step 4: Now, you need to provide your email address and hit “Next”.4
Step 5: Then, you need to enter the Gmail password and then Next.
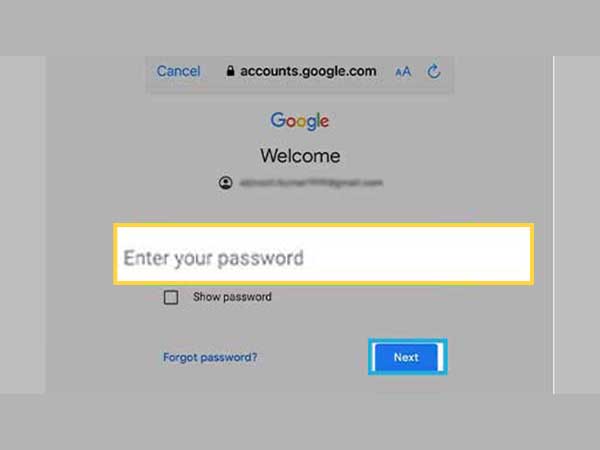
Step 6: If your two-factor authentication (2FA) is enabled, follow the on-screen instructions after you receive a message for the same.
Step 7: Now, Turn on the Mail toggle so that you can sending and receiving the feature of Gmail. You can even use other facilities such as sync contacts, calendar events, and notes.
Step 8: Click Save.
Configure Gmail on iPhone Using POP Settings
The method for setting up Gmail on iOS using POP settings is quite different. Let’s understand this in a step-by-step manner.
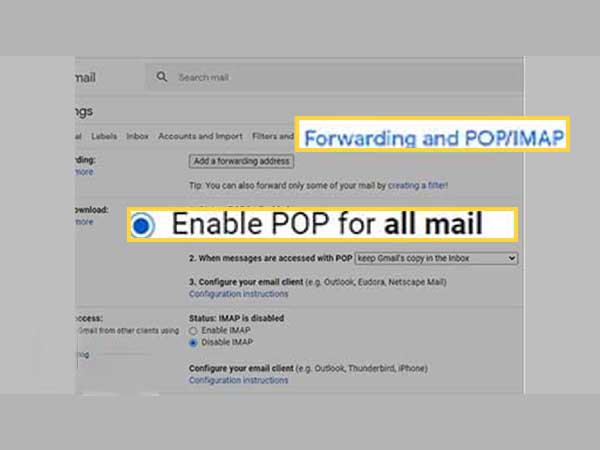
Step 1: Firstly, it is necessary to enable the POP settings from your Gmail account. Follow this: Settings>> Forwarding and POP/IMAP>> Enable POP for all mail.
Step 2: On your iPhone, go to Settings>> Passwords and accounts>> Add account>> other and then Add Mail Account.
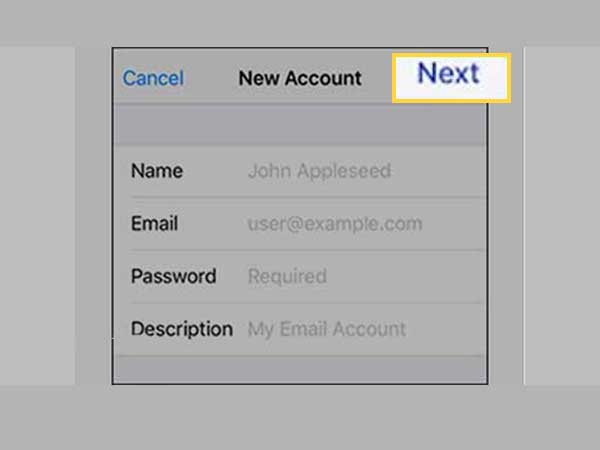
Step 3: Now, move ahead and provide your name, email address, and password. Then, click “Next”.
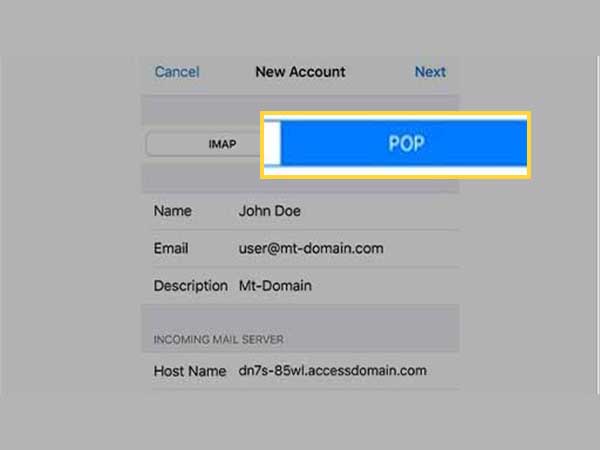
Step 4: Click on “POP” on the next screen.
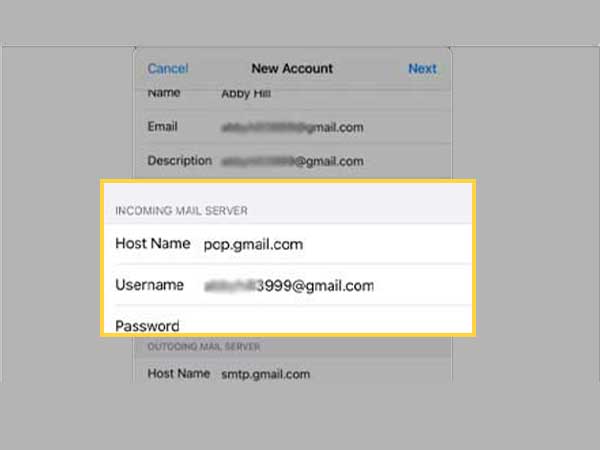
Step 5: Now, in the “Incoming Mail Server”, enter the POP settings for Gmail.
- Host Name: pop.gmail.com
- User Name: Your full email address
- Password: The password to your email account
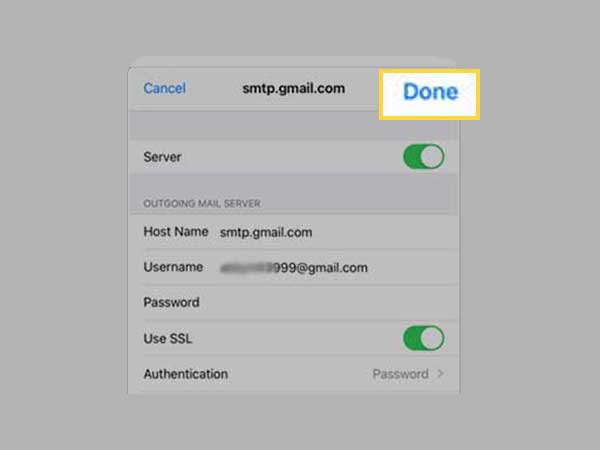
Step 6: In the Outgoing Mail Server, type Gmail SMTP Server Settings
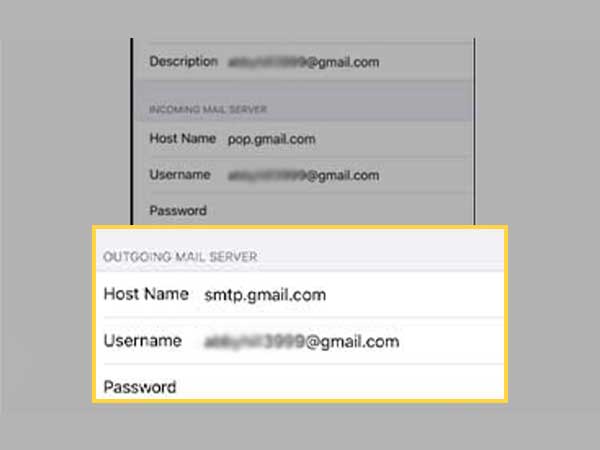
Step 7: Click Save
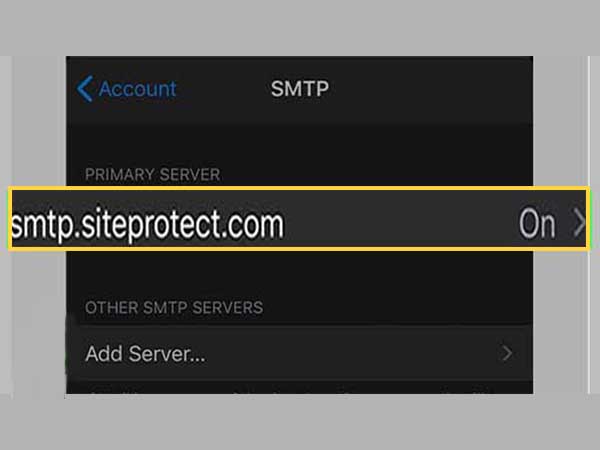
Step 8: Now, go back to the previous screen and select the account you just added.
Step 9: From the bottom of the screen, select smtp.gmail.com.
Step 10: On the next screen, toggle the switch to Use SSL.
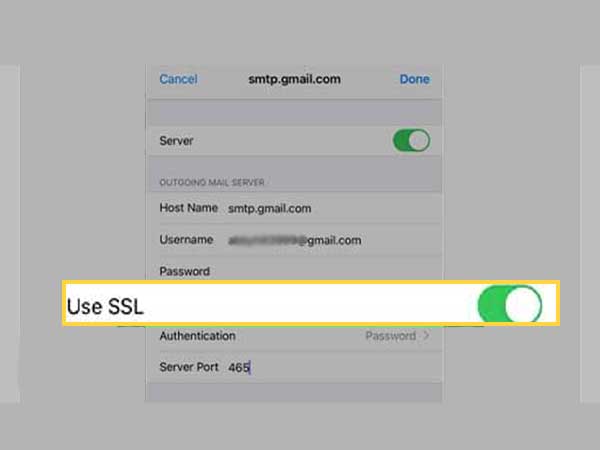
Step 11: In the Server Port, and clear the existing number and add 465.
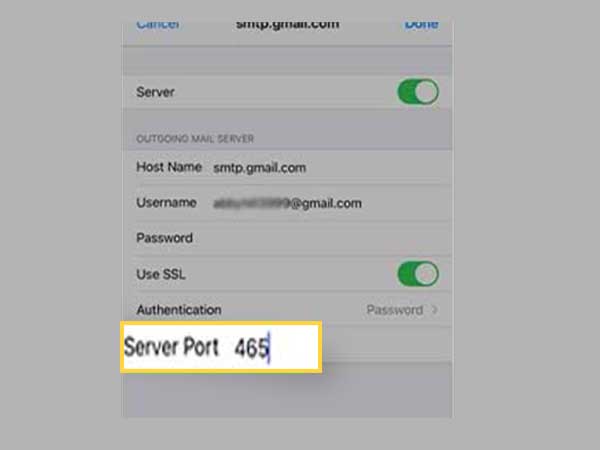
Step 12: Click Done.
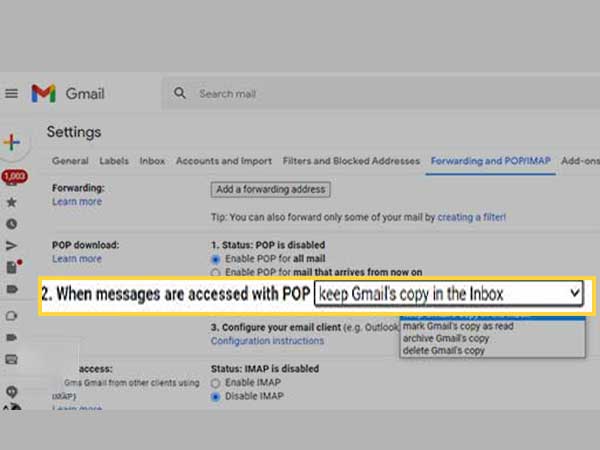
Important Note: As per the Gmail POP settings, you can get the benefit of a unique feature using which you can delete emails from your iPhone, without deleting them from the Gmail inbox. You just need to go to Gmail Forwarding IMAP and POP settings >> “When messages are accessed with POP”>> “keep Gmail’s copy in the Inbox”.